
Select a Disqus plan
Disqus offers four different plans depending on the size of a publisher’s website or blog and its specific needs and goals—all underpinned by a simple pricing model.
- Basic: Our free, ad-supported plan includes Disqus’s core features: the comments plug-in, advanced spam filtering, moderation tools, basic analytics, configurable ads and more. We offer real-time comments, including rich media, across devices and support 70 languages and counting. Website owners can use discussion interactions like upvotes, downvotes, threaded replies, favorites, etc. We also automatically adapt to your site’s look and feel or allow you to customize designs and color schemes.
- Plus: This plan includes everything in the Disqus Basic offering, plus the option to turn ads off for $12 per month (or $11/per month with annual billing). This plan is available to organizations with up to three sites with under 50,000 daily pageviews total. It also includes email support with our Customer Success team to ask questions and provide feedback.
- Pro: This plan gives you access you to more powerful features that are tailor-made for larger publishers who are serious about on-site engagement and community growth. Get everything in Disqus Plus and more for $115 per month ($105/month with annual billing). Available to organizations containing up to 20 sites, with under 150,000 daily pageviews total, this plan also includes advanced analytics dashboards, unlimited API access, priority support, advanced moderation capabilities, enhanced branding + style options, additional engagement features like Badges and Star Ratings, and much more.
- Business: This plan is for enterprise companies and large publishers who want powerful tools and additional support. It offers everything in Pro, plus custom pricing, one-on-one account management, and single sign-on (SSO), which allows users in your database to comment without forcing them to register with Disqus.
Things to know about getting started with Disqus
Our Plus, Pro, and Business subscription plans are all ad-free.
For personal blogs, .edu sites, and non-profits, Disqus advertising is optional. If you are a small, non-commercial site, you are eligible for a free subscription to our Plus plan.
We offer free, 30-day trials for our Plus and Pro plans. You can see the time you have left in your trial from the Subscription and Billing tab on your Admin Settings page. You’ll be asked to provide your payment information before you begin your free trial, but you will NOT be charged should you decide to cancel before your 30-day trial period ends. You can cancel your subscription by emailing the Disqus team at cancellation@disqus.com.
Steps for installing Disqus
Disqus works on just about any type of website or blog and can be easily installed either with a drop-in code snippet or by using one of the plugins available on our Install page. You can also customize and tweak Disqus for your website with extensive APIs and JavaScript hooks.
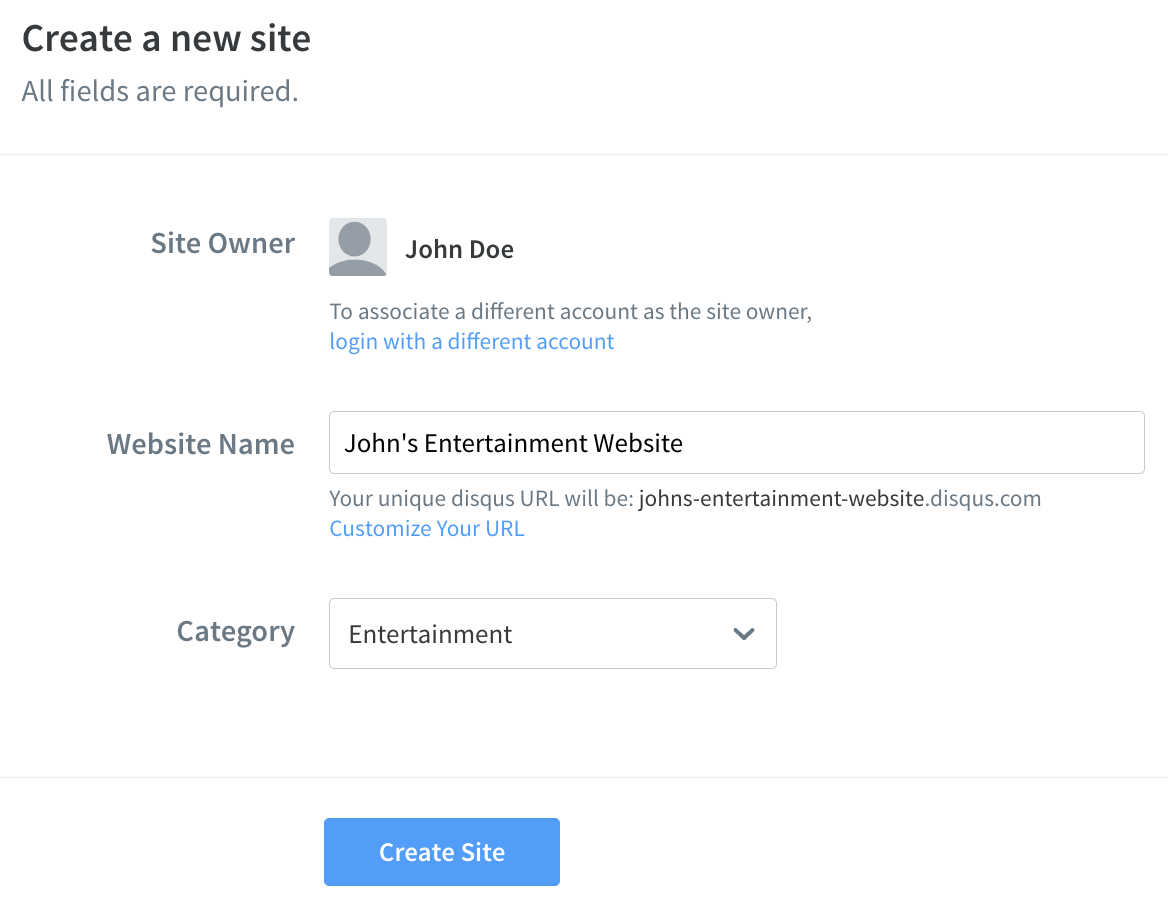
- Register your website with Disqus. Create a user profile to log in and administer your website. Pick a shortname for your site so Disqus can identify your website community. We’ll create an organization for you containing your new site and any additional sites you choose to create.
- Install Disqus. How you install Disqus will depend upon the website platform you use. We include instructions in our admin portal for each of the major platforms. Let’s use WordPress as an example:
- In the left panel of your WordPress admin, select Plugins > Add New.
- Search for "Disqus" and find the plugin provided by "Disqus."
- Select Install Now, then Activate Plugin.
- Click "Disqus" in the left panel of your WordPress admin.
- Copy the Installation Token and paste it into the form below in the admin panel to complete the installation.
You can also install Disqus manually using the Universal Code (which is JavaScript) if you can edit your site’s code. Most sites generally place Disqus at the end of the article page. Watch this video (it includes closed captions) for step-by-step instructions.
- Configure Disqus. We have standard configuration settings you can adjust for your site, which you can update later in the settings tab of the Admin portal. These include:
- Website Name
- Website URL
- Comment Policy URL
- Comment Policy Summary
- Category
- Business
- Description
- Language
- English
- Appearance
- Set up moderation. Select the default settings profile that best fits your moderation style and community. Again, you can update these settings at any time. Choose from Balanced or Strict profile settings:


- Balanced
- Images, videos, and links will be allowed in comments.
- Guest comments will be allowed.
- Comments flagged five times will go to Pending.
- Comments containing restricted words will automatically delete.
- Toxic comments will require moderator approval to be displayed.
- Strict
- Images, videos, and links will not be allowed in comments.
- Guest comments will not be allowed.
- Comments that are flagged three times will go to Pending.
- Threads will be automatically closed after 30 days.
- Comments containing restricted words will be automatically deleted.
- Toxic comments will be automatically deleted.
